Limits is a new feature within Ocamba that allows you to set specific usage boundaries, track and prevent exceeding allocated resources, and maintain the app’s overall smooth operation.
The limits values are set by default depending on the plan, and, as your business needs grow, you can upgrade the limits too. To access the Limits tab, navigate to Settings in the top right corner and then select Limits.

How to access Limits
Once you access the Limits dashboard, you will see 3 main components on this screen:
1. Top 10 active limits
This section displays the top 10 most active limits across the Ocamba platform, including both AdEx and Hood. These are dynamically ranked based on your most frequently used resources.
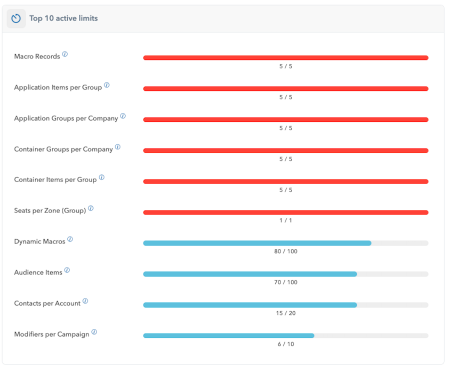
Top 10 active limits dashboard
Each limit is displayed with a usage bar to indicate how close it is to being fully utilized. When limits approach 85% (default value), you will receive a first email alert that will be sent to the configured recipients, unless otherwise specified. Upon reaching 100%, you will receive another email alert.
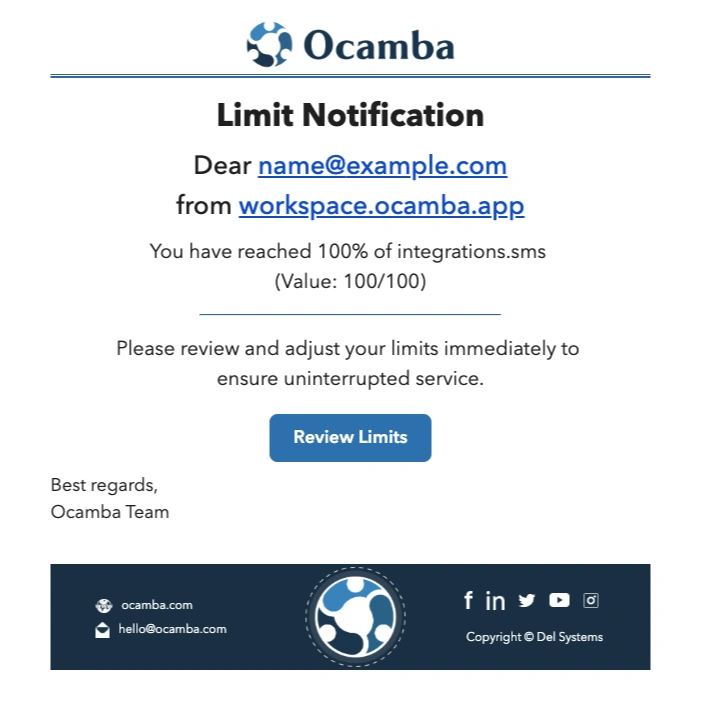
Limits reached, email alert
2. Limits per application
This section provides a detailed view of limits specific to each application (e.g., AdEx or Hood).
You can toggle between applications using the Quick Filter at the top.
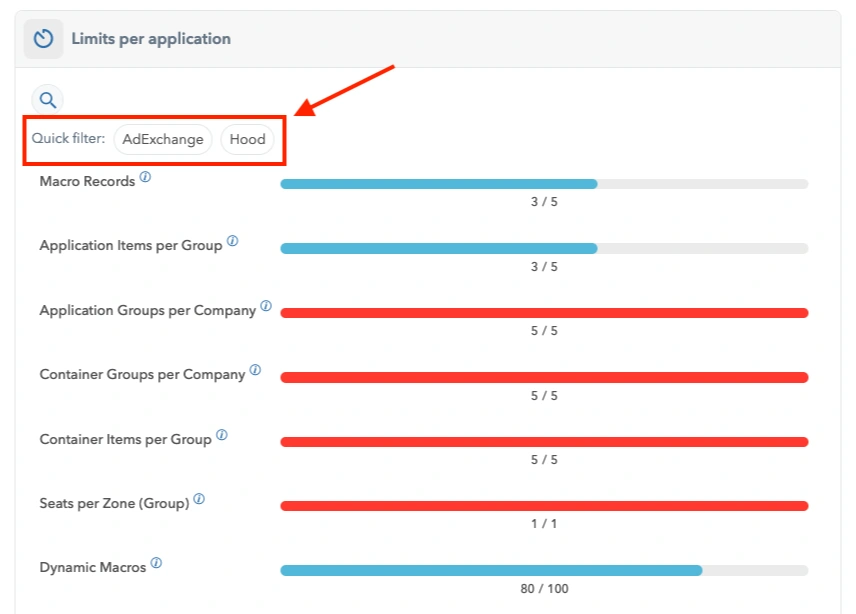
Limits per application dashboard
Each limit is displayed with the current usage and maximum allowed capacity for that specific application.
This granular view helps you identify areas where resources are nearing their limits and make adjustments as necessary.
3. Email notifications for limits
The Email notifications for limits allows you to set up notifications to alert your team when usage is approaching predefined thresholds. This way, you avoid unexpected costs, and ensure your campaigns run reliably without interruptions.
To add recipients for these notifications, specify their email and full name, then click Add recipient.
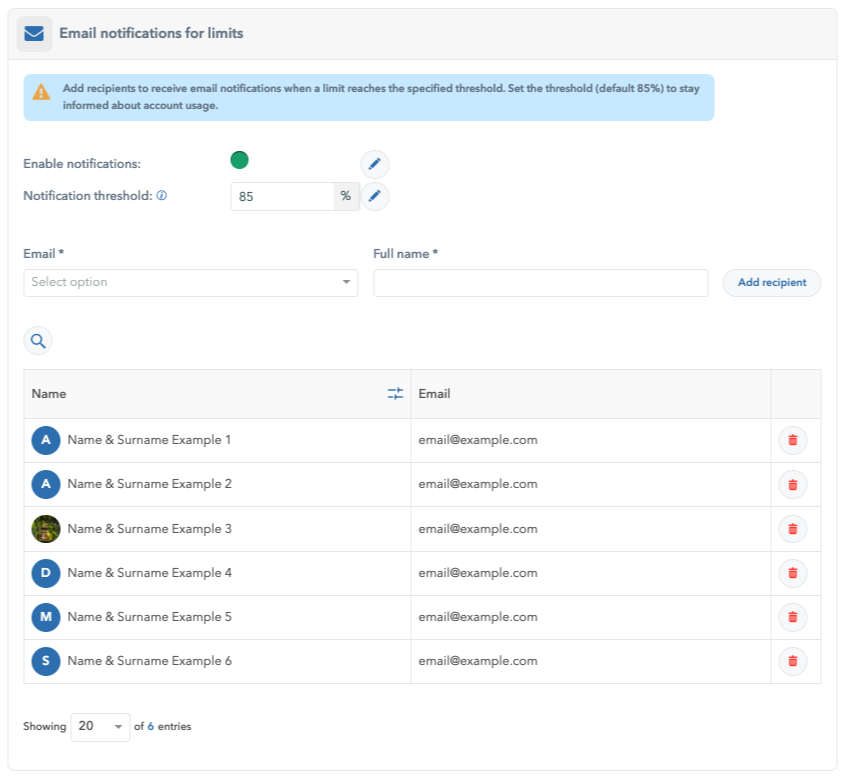
How to set up email alert
All configured recipients will receive alerts when a limit crosses the specified threshold.
To sum up
The Limits feature is an invaluable tool to proactively manage your limits and ensure uninterrupted service.
Test it our for FREE or sign up for a 1-on-1 live demo of our platform, and see how this and many other features can be useful for your business.